Repair of Cracks in Reinforced Concrete Beams & Columns
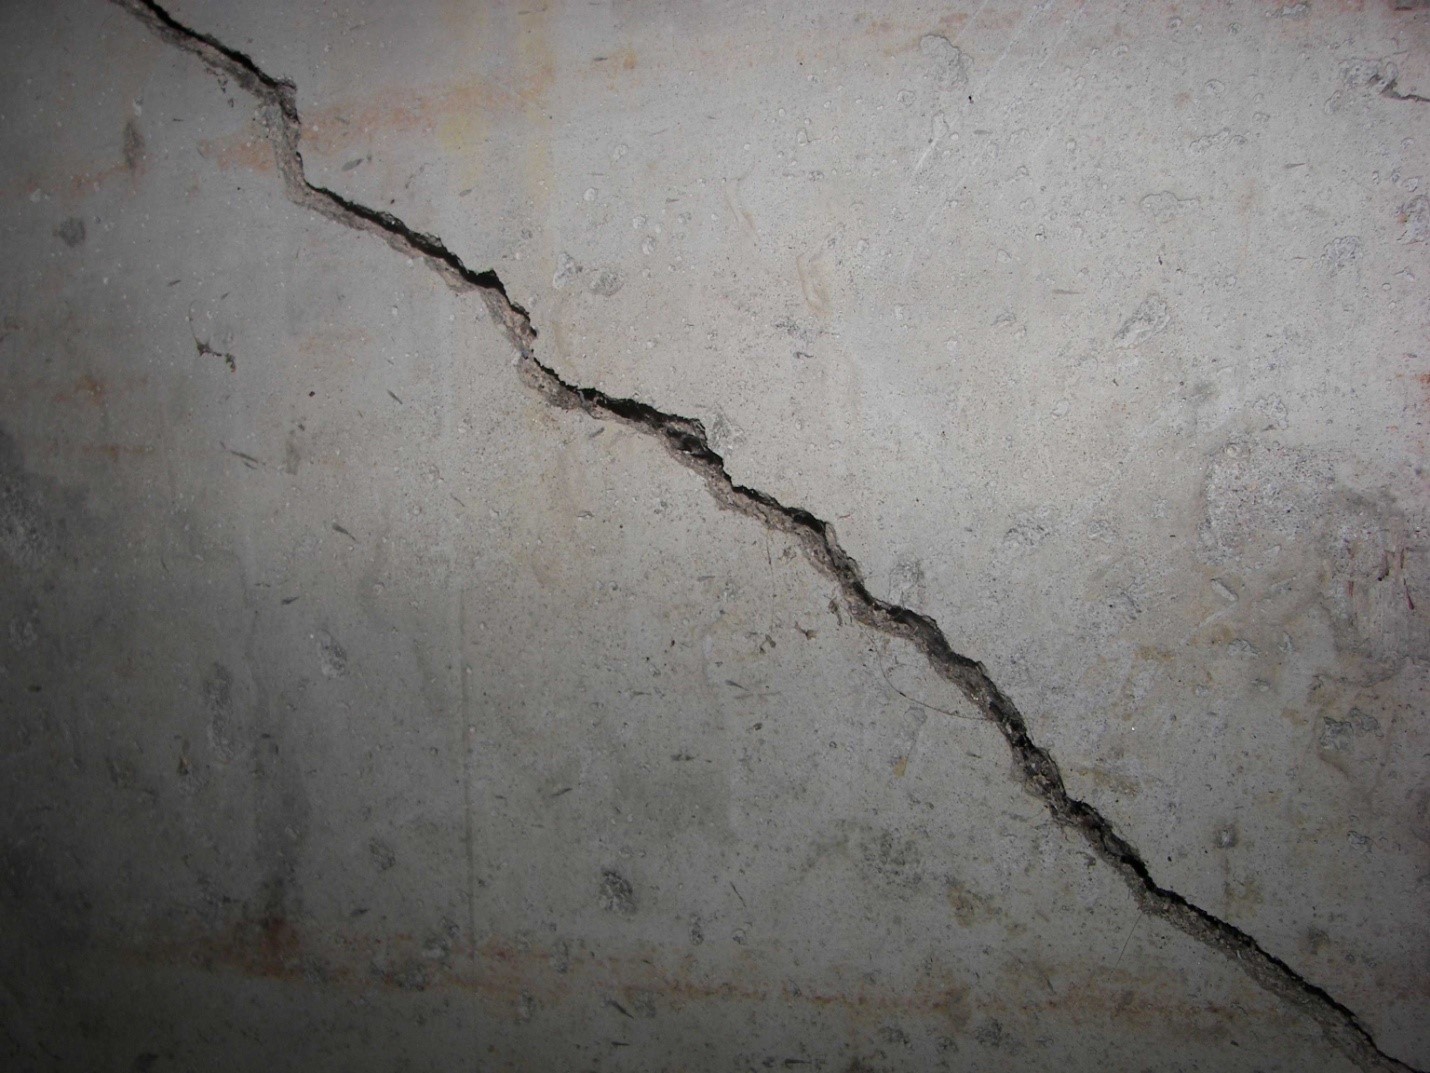
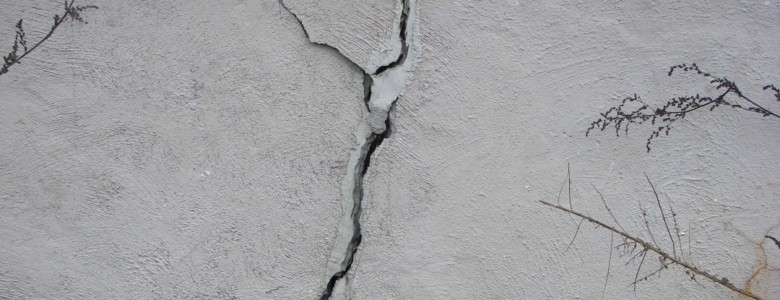
The primary cause of corrosion of steel in concrete is due to carbonation or due to chloride. Corrosion is electro-chemical process which results in formation of rust. The volume of rust formed due to steel corrosion is more than the volume of original steel. This increase in volume of steel inside the concrete causes cracks in concrete. Sometimes this causes falling down of concrete cover.
STEP-BY-STEP PROCEDURE
The following step by step procedure will guide you to repair a damage potion of RC beams & columns.
STEP-1 (PROVIDE SUPPORT)
Beams & columns carry heavy loads. Therefore the first step is to relieve part of its load. This is done by providing supports or prop up at beam column joints. Remove the damaged concrete until corroded steel reinforcement is visible.
STEP-2 (CAUSE ANALYSIS)
In this step, the steel is examined for the type of corrosion. This is done by phenolphthalein test. This test will help to find out whether it is carbon induced corrosion or chloride induced corrosion.
Note:
- Here we are dealing with only carbon induced corrosion of steel. Because chloride induced corrosion is difficult to identify and this demands for replacement of whole concrete near steel.
STEP-3 (PROPER CHIPPING)
If the steel is fully corroded, then remove concrete from 15 mm to 25 mm around the steel. This will help to clean the steel well and all-round.
STEP-4 (CLEANING)
Using water or any rust removal solutions, clean the concrete and steel surface thoroughly.
STEP-5 (FIXING NEW STEEL)
Examine the percentage of corrosion of steel. If 15% or more portion of steel is affected by corrosion, then bind additional steel with the old steel. Instead of binding we may also weld it with old steel. Put the required shear reinforcement for beams and binders for columns.
STEP-6 (APPLY BONDING COAT)
After fixing additional steel with old steel, apply a proper bonding coat over the old concrete and steel surface. Bonding coat is used to bond the new concrete to the old concrete. 4 categories of bonding coat commonly used for repair works are as follow:
- Epoxy based bonding coat
- Acrylic based bonding coat
- Styrene butadiene rubber (SBR) based bonding coat
- Lingosulphate based bonding coat
STEP-7 (FORMWORK VS WIRE MESH)
If the volume of damaged portion of beam or column is very large, then it is suggested to assemble the formwork for columns and to use expanded wire mesh for beams.
STEP-8 (PLACE NEW CONCRETE)
Prepare a micro concrete mix made of cement, sand, coarse aggregate (of size 10 mm & below) and super-plasticizer. The water-cement ratio should not be more than 0.5. Place this concrete within the empty spaces in the member. Remember placing of concrete should be done before the bonding coat dries.
Note:
- If the area to be repaired is small, then instead of using concrete, use polymer modified cement mortar.
- In case of large area repair work, shotcrete/gunitemethod of concrete placing is suggested.
STEP-9 (APPLY FINISHING COAT)
Apply cement plaster of ratio 1:3 (cement : sand) as finishing coat. This should be done within 48 hours of concrete placing.
STEP-10 (CURING)
Cure the repaired work for at least 7 days.
STEP-11 (WATERPROOF COAT)
To protect the repaired member for further attack by water, apply a final coat of waterproof paint on the surface of the member.