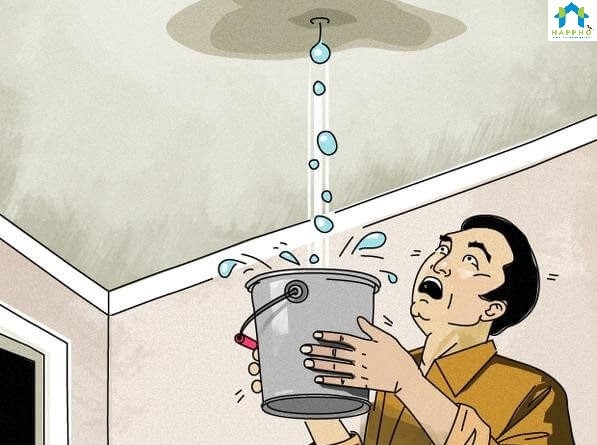
Water Leakage Solutions
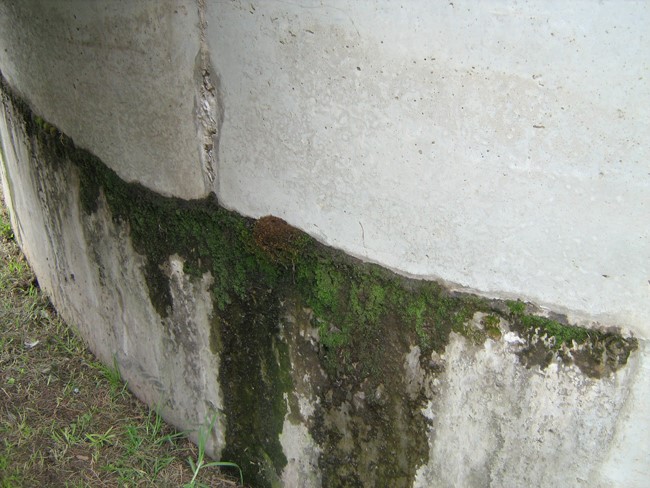
A roof slab is subject to severe weather conditions round the year. The absence or inadequate waterproofing in this areas can lead to variety of problem like leakages in ceilings below terrace floor, dampness in parapet walls or seepage in the terrace slab. Thus, it is important to avoid cracks in slab in first place and waterproof it to prevent from these problems from occurring in future.
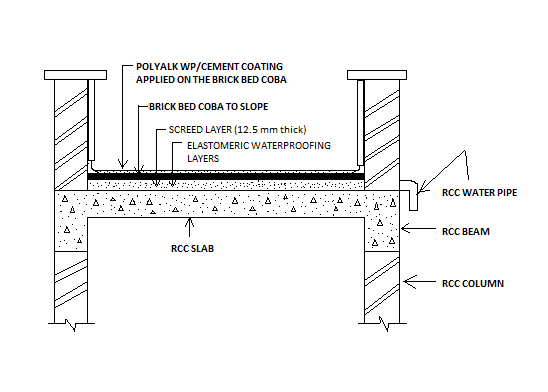
Before understand the repair procedure, you need to understand the typical cross-section of Terrace Waterproofing:
- Structural Concrete (Roof Concrete)
- Waterproof Coat (Elastomeric Polymer)
- Protective Screed (12.5 mm thick)
- Brickbat Coba (in Slope 75-125 mm)
- Finishing Screed (20-25mm)
Step by Step Rectification of Water Leakages in Terrace Slab:
If there are leakages and visible cracks on roof, the one of the following can be inferred
- The waterproofing of the RCC slab has failed (Or)
- No waterproofing has been done for the slab area
Also Read : How to Effectively Reduce Risk of Leakage in Bathroom?
Follow this step by step process to rectify the water leakages in Terrace Slab
Step-1: Identify type of defect and rectify the same
The following checks the following before repairing the visible cracks (< 3mm) and do needful as guided
Defect Type-1: Screed De-bonding:
Check soundness of top screed, look for di-bonding signs by knocking it with fingers. If you hear a hollow sound, then you need to remove the entire patch (making hollow sound) and repair it with a repair mortar (polymer modified mortar)
Defect Type-2: Superficial cracks on Screed:
Visible cracks not giving hollow sounds need to be directly treated. Creating a “V” groove (10 X 10 mm) on the crack observed and clean the groove (with vacuum cleaner and/or water jet). Seal the frove with a Non-shrink repair mortar available with construction chemical companies like Permaindia, Sika, Dr.Fixit etc
Step-2: Test the adequacy of the waterproofing done
After doing above (1 & 2) fill the slab with water to a depth of 1-2” (usually known as water ponding) and check for damp signs (after 72 hrs.).
If there are no signs of dampness observed underneath the slab, then you are through with its repair.
If dampness is observed, you need to do waterproofing on entire slab area.
Also Read : How to Avoid defects (like Cracks) in RCC Slab?
Step-3: Redoing Waterproof on the Slab area (If required only)
Redoing the waterproofing from the RCC slab is cumbersome and expensive. The existing screed and brick bat layers need to be broken and removed. A fresh coat of water proofing, insulation layer and screed has to be laid in order and as per guidelines mentioned.
Alternative to Step-3:
You can also avoid the painful process of waterproofing by adopting an alternate treatment.
After sealing the cracks, clean the entire top screed surface thoroughly (remove dirt and deposits. They might de-bond the water proofing layer applied over the existing layer). Apply priming coat on the cleaned surface. Apply two coats of an elastomeric waterproofing chemical (having Ultra Violet ray resistance properties) on the top of priming coat. The construction chemicals are available with construction chemical companies like Permaindia, Sika, Dr.Fixit etc.
To check its waterproofing adequacy, do water ponding on slab and check for damp signs (after 72 hrs.).